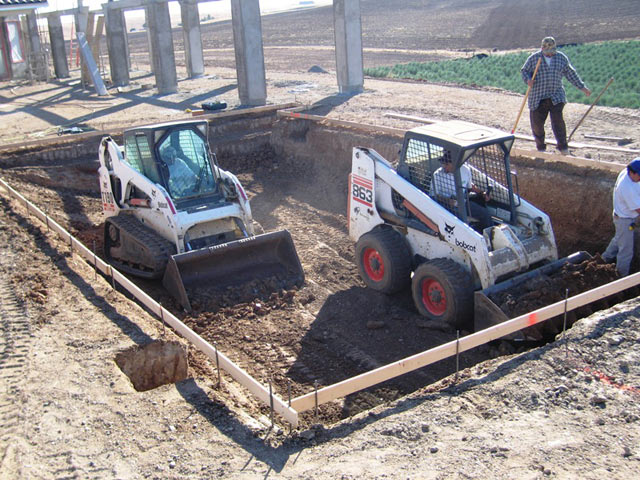
What!?
You really didn't think that we had 20 guys with shovels did you?
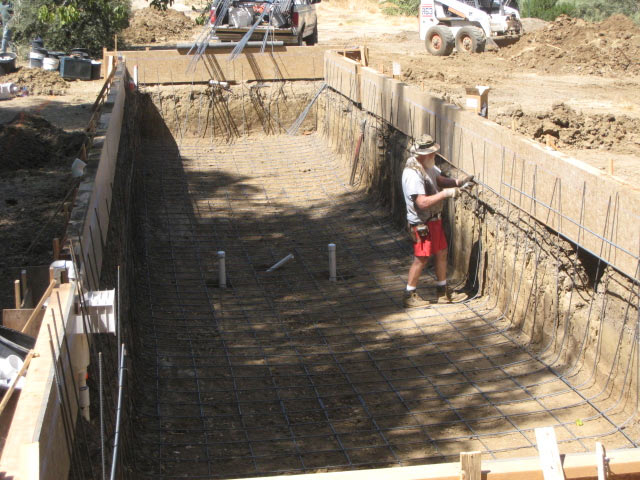
Phase
Two: Steel
Time for
steel! Yes, in case you were wondering, this is similar
to laying down steel rebar when pouring concrete.
Except we'll be using a fine aggregate product called "Gunite" and
we will be shooting it on; not pouring it.
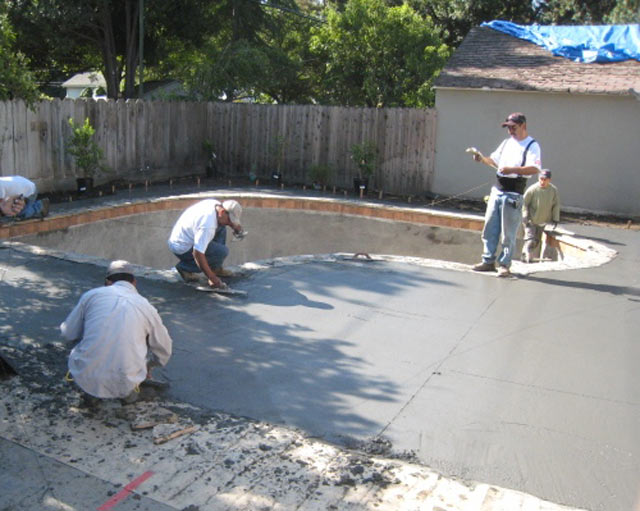
Phase
Three: Gunite
Gunite installation, and yes, it was a messy job. If you like building sand castles, this is the job for you. Gunite creates the concrete shell of your pool. Remember, for proper curing, keep the shell wet for 5-7 days after installation.
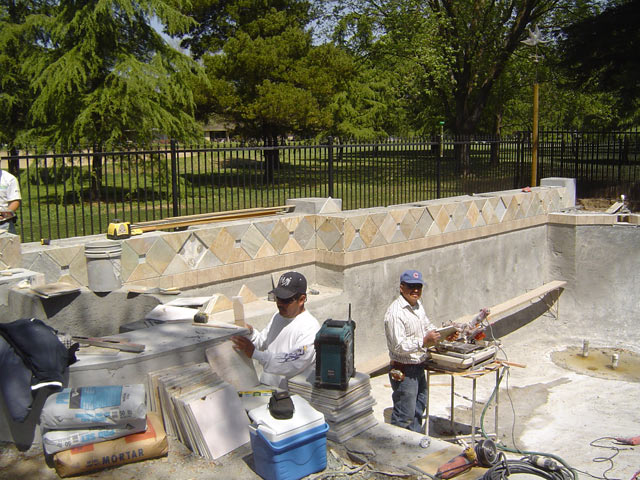
Phase
Four: Tile Installation
This is the first step of putting colorful dressing on your concrete shell. Tile also serves as an easy surface to clean when those pesky hardwater deposits forms.
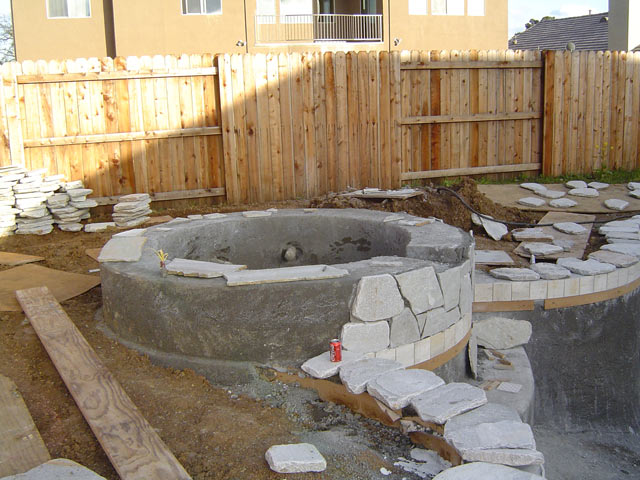
Phase
Five: Coping
The next phase, dressing up that pool shell stone. Some pools have it, some don't. It can be poured in place of concrete, brick, or stone.
Phase
Six: Concrete Decking
Pool Deck covers up all those pipes and dirt. Decks can be stone, concrete, or brick. Even a combination of the three. Now you have a place to party and dance!
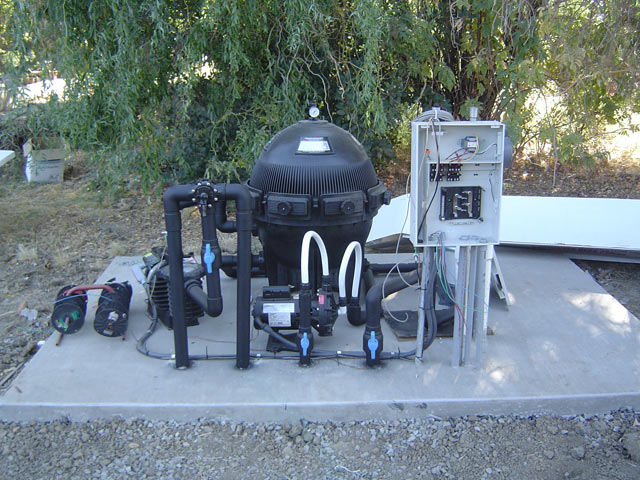
Phase Seven: Equipment
Man is that plumbing ever complicated! We need to filter, heat, move, and separate the water. Please could you explain that operation one more time!?
Phase
Eight: Plaster
The final chapter, plaster/pebble or tech/sheen. Yes, this is generally the last artistic touch applied to that gunite shell. The plaster serves to make your shell water tile and give you something smooth against your skin. It can also change the color of the water to make your pool look great!